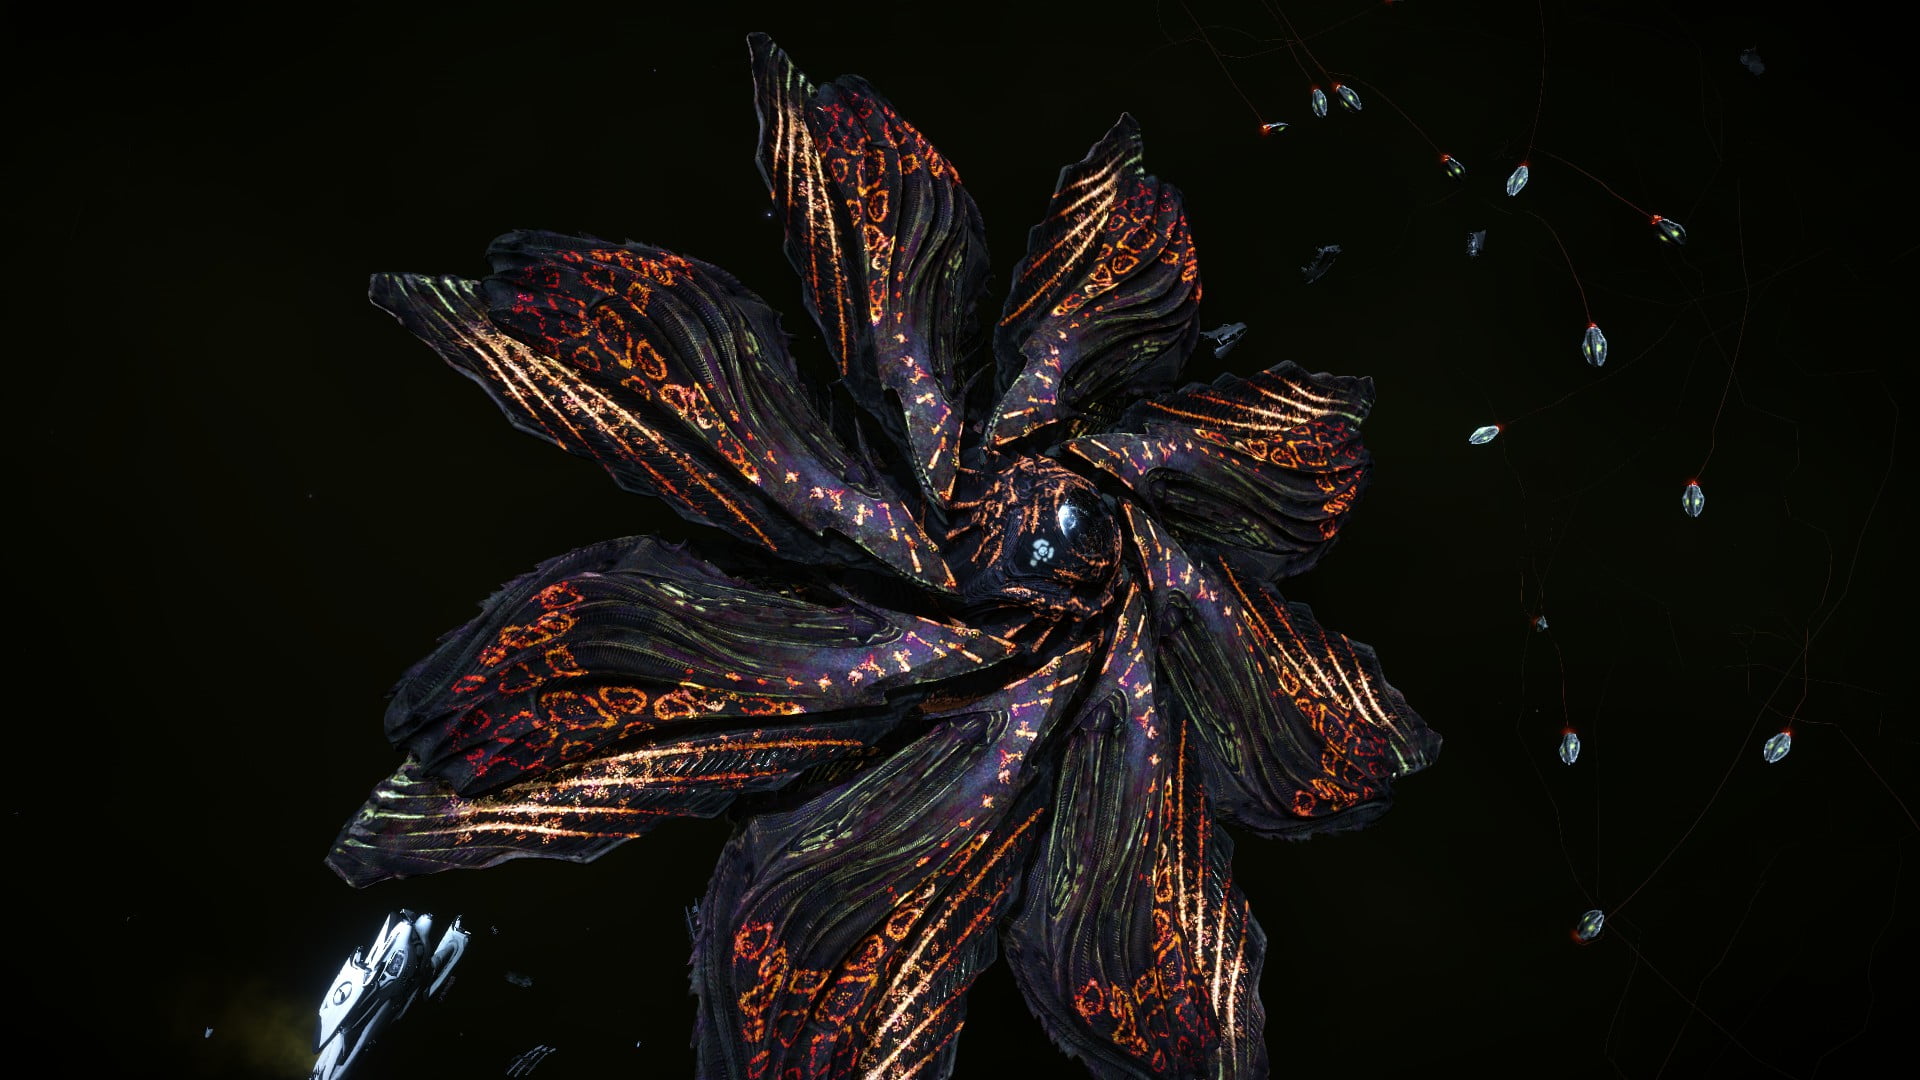
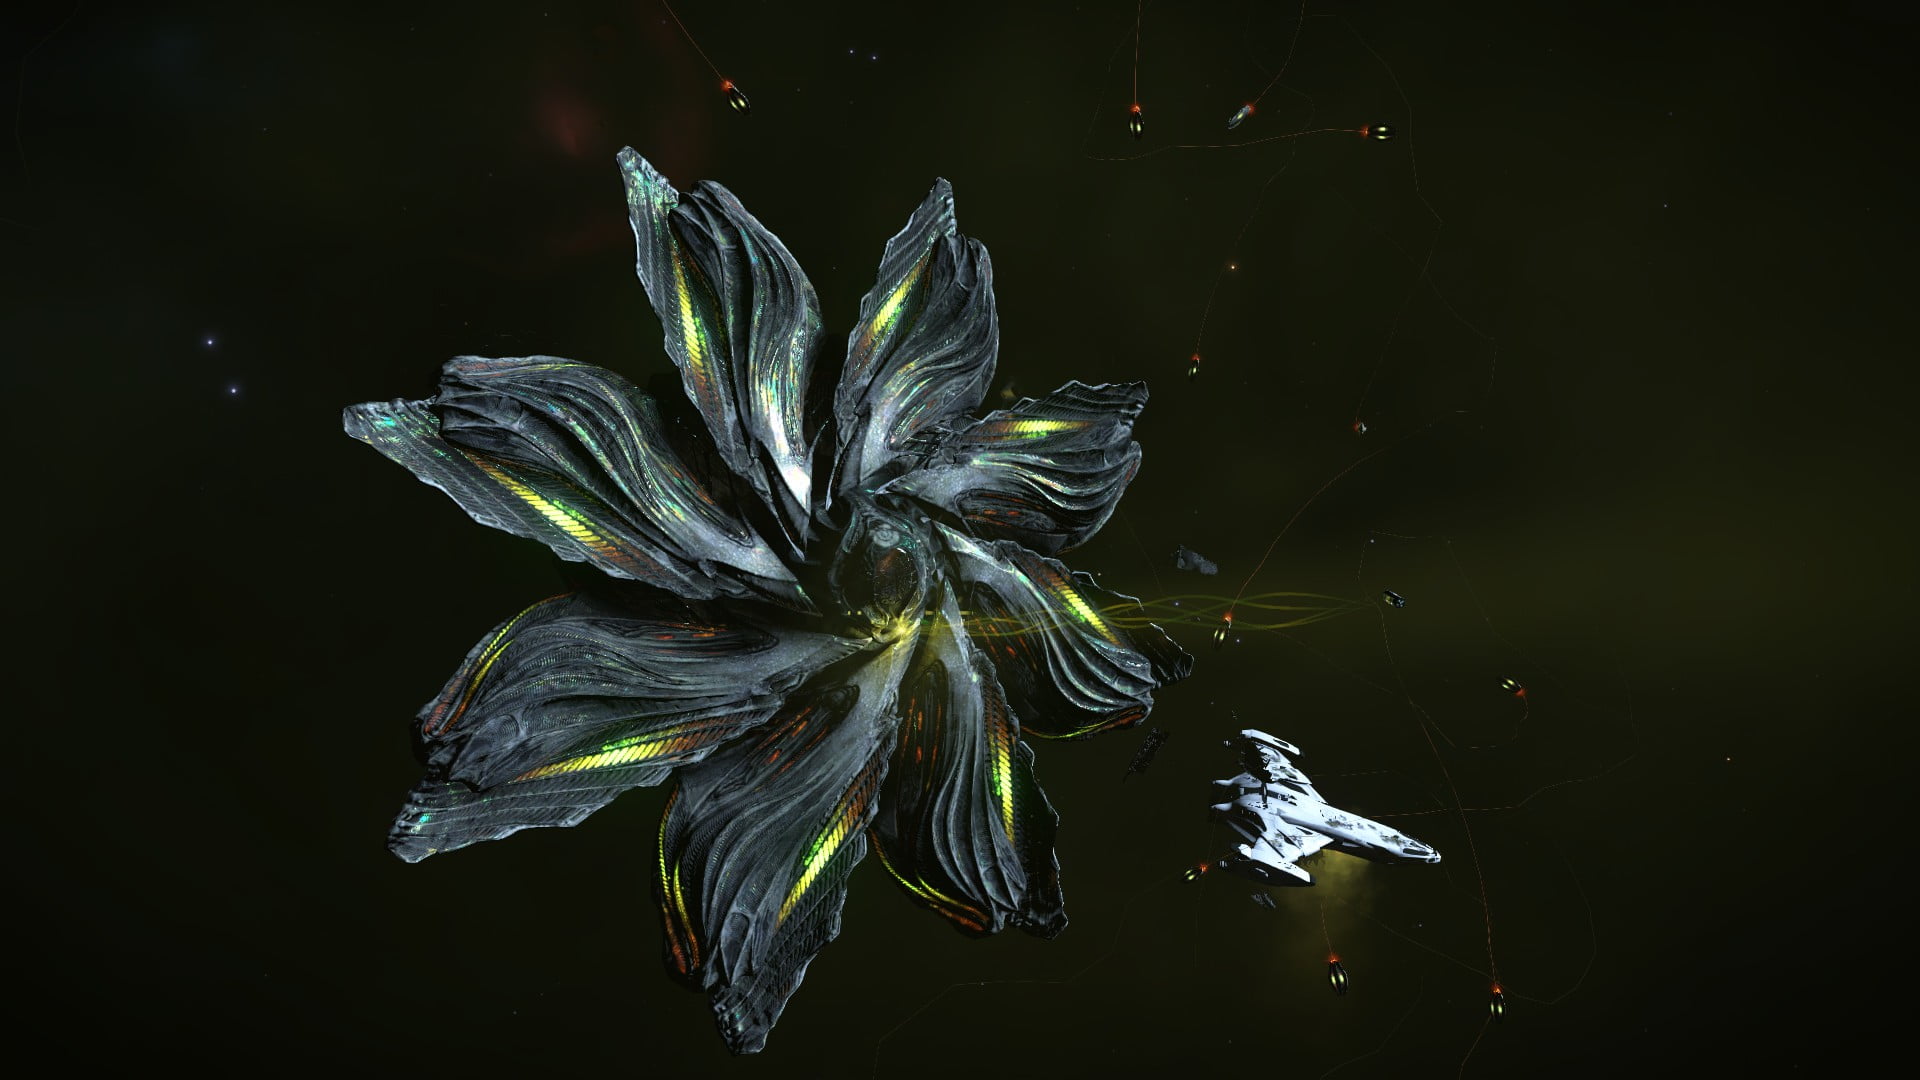
The A.X.I. Guide to Engaging and Defeating a Cyclops variant interceptor – Written by CMDR Synoxys
To fight a Thargoid Interceptor Cyclops Variant (Threat Level 5):
When you first enter the instance, you want to scan the Thargoid as quickly as possible before making it hostile. This is due to the scanner’s short range. If for some reason you fail to scan it before it becomes hostile, it’s probably best to simply wake out and find a new target.
Begin firing on the interceptor. If you are confident in your aim and ability to destroy the first heart quickly (within 15 seconds), you might find it best to ignore the swarm until the first heart is destroyed. If you are not confident, target the swarm immediately after it detaches from its formation around the interceptor. Fire using remote-release flak launchers: hold the trigger until the three triangles on the projectile pipper are illuminated red. This will sometimes be a very small window of opportunity, and timing is critical when releasing the trigger. Once the swarm is destroyed, then proceed with attacking the interceptor itself.
To exert the first heart, fire AX missiles or multicannons at any location on the interceptor. Once the hull percentage reaches 80%, it will exert the heart, and the hull percentage will return to 100% very quickly.
To destroy the first heart, fire only multicannons at the exerted heart, which should be subtargeted. It will be visibly glowing red on one of the interceptor’s petals, and in the subtargets menu, it will say “Exerted” next to it. If you fail to destroy the heart while it is exerted the first time, repeat these two steps until it is destroyed.
Do not take too long, however. If too much time elapses between the initial attack and the destruction of a heart, the interceptor will enter “Enraged Mode,” and will spawn swarms at a very rapid rate. Any remnants of swarms left alive when another one is set to spawn in this mode will immediately enter “missile mode” and crash into your vessel, dealing massive damage to both hull and modules. It is possible for a full swarm of 32 to enter this mode at once. If you see this happening, try to shoot it down. You won’t get all of them, but you might lessen the impact slightly. Your next move should be leaving as soon as physically possible, if you’re not already dead. Engaging an enraged thargoid is a bad idea, regardless of skill level.
After the first heart is destroyed, the interceptor will put up a shield. This shield is able to be damaged by all weapons, not only AX weapons. This is the only part of the interceptor that acts this way. The shield will also decay and eventually go down on its own, even if you do not fire at it.
Also after the first heart is destroyed, the interceptor permanently gains access to a lightning attack, which it will use frequently for the remainder of the encounter. This attack has a maximum range of 800 meters, and immobilizes your ship, causes random module failures, and does massive damage to shields. There is no foolproof way to dodge this attack, but the best method so far is to boost perpendicularly to the interceptor’s attack vector. If you manage to pass 800 meters after the lighting tendrils have already made contact with your ship, the contact will break and the attack will either abort or be instantly recharged and fire immediately once you or another player have moved back into range. It is best to put 4 pips into SYS when you see the interceptor’s petals glow green, as this will increase your shield strength and make it possible to come out of a lightning attack with your shields still online.
Destroy the second heart using the previously exert-and-target method, repeating as necessary. Remember the “Enrage” timer.
After the second heart is destroyed, there is a rather high probability that caustic missiles will be launched. The number of missiles launched usually is one missile per player in the instance, although certain Cyclops units launch up to two missiles per player. These missiles are easy to defeat if you anticipate their launch by boosting in a straight line directly away from the interceptor as soon as the second heart is destroyed. The missiles’ speed is approximately 350 m/s, but they travel in a meandering path, so their closing rate will be slower than that. You can keep pace with the missile if your ship’s speed is above 335 m/s. If you like, you may disable flight assist and turn to aim at the incoming missile. However, your chance of successfully shooting one down is very low, even using flak, which is currently the most effective weapon against them. In most cases, it is best that you save your ammo. Once the missile self-destructs or is shot down, immediately reverse direction and close in once more on the interceptor.
Another shield and swarm will have been deployed at this time. Target the swarm first, regardless of your confidence level, and then once it is destroyed (count of less than or equal to 3), refocus on the interceptor.
Destroy the third heart using the previously exert-and-target method, repeating as necessary. Remember the “Enrage” timer.
After the third heart is destroyed, there will be another shield, another high probability that caustic missiles will be launched, and a virtually guaranteed EMP pulse. Anticipate the caustic missile launch, and as you do, ensure that you have selected a firegroup with a Shutdown Field Neutralizer in it and that 4 pips are in SYS. When you hear the COVAS announce “Energy surge detected,” wait for about three seconds, and then charge your Neutralizer by holding the fire button. When you see the pulse pass through you and dissipate, release the fire button. Sometimes, the COVAS will not give a warning. This is rare, but it does happen. The pulse can still be neutralized with a combination of quick thinking and being able to see the interceptor’s petals turn a cyan color. When this happens, charge the neutralizer immediately.
Once the pulse has been neutralized and the caustic missiles have been defeated, close in once again on the interceptor, destroy the swarm, and resume your attack.
Destroy the fourth heart using the previously exert-and-target method, repeating as necessary. Remember the “Enrage” timer.
Once the fourth and final heart has been destroyed, the best course of action is to put as much fire as you can at once into the interceptor. All wing members should fire all AX weapons at the interceptor to try and remove what’s left of its health before it gets its panic shields up. This is not guaranteed to work. In the case that it doesn’t, and the shields do come up before the interceptor has been destroyed, prepare for another high probability caustic missile barrage. Another swarm will also be launched, but usually there will be no EMP. Most pilots choose to ignore the swarm and caustic missiles at this point, and focus on getting the shield and the rest of the health down as fast as possible. This is the recommended course of action, unless your health is precariously low. It is important to note that you might not get credit for the kill if you are busy running away or fighting the swarm when the interceptor finally explodes. This is why it’s best to just focus it down.
Once you’ve killed the interceptor, any swarm that is still operational will immediately self-destruct. The interceptor will leave behind a rapidly expanding cloud of caustic chemicals, which will apply a lot of caustic damage to your ship if you fly into it. A safe distance is above 4km from the location of the Thargoid Heart that drops. The cloud will dissipate after a short time, and you may pick up the materials and cargo that may be left, if you so desire.
It is good practice to return to base after every Thargoid fight, in order to rearm, repair, and turn in your combat bonds. However, if you are not currently being affected by caustic damage and have the majority of your hull integrity and modules intact, it is possible to immediately engage another Thargoid. This is generally not a good idea.
As of 3.0 CMDRS have been able to utilize Guardian Hybrid Weaponry in place of AX Multi-cannons and Missile Launchers.


